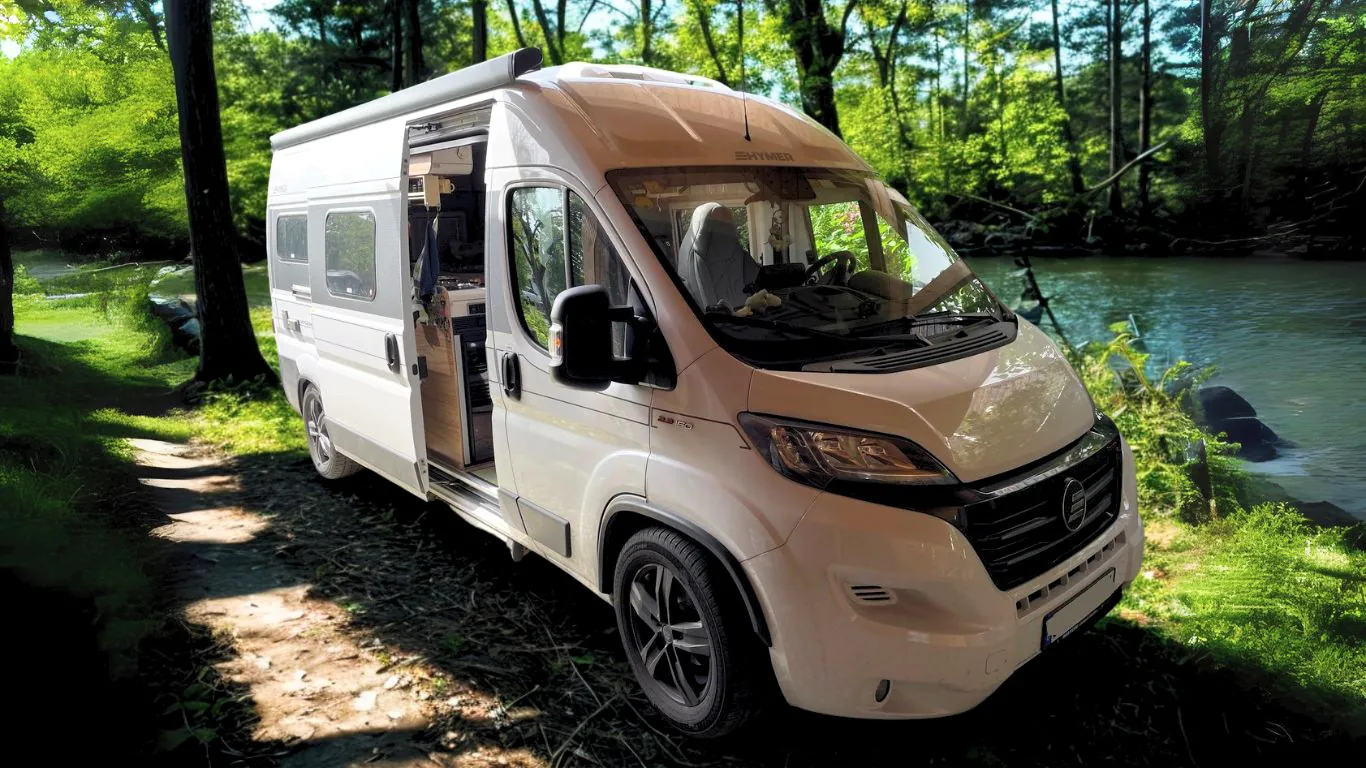
Guest article: Replacing AGM batteries with 2x 180Ah lithium batteries in the Hymer Yosemite camper
How can AGM batteries be replaced with modern LiFePO4 batteries in the Hymer Yosemite?
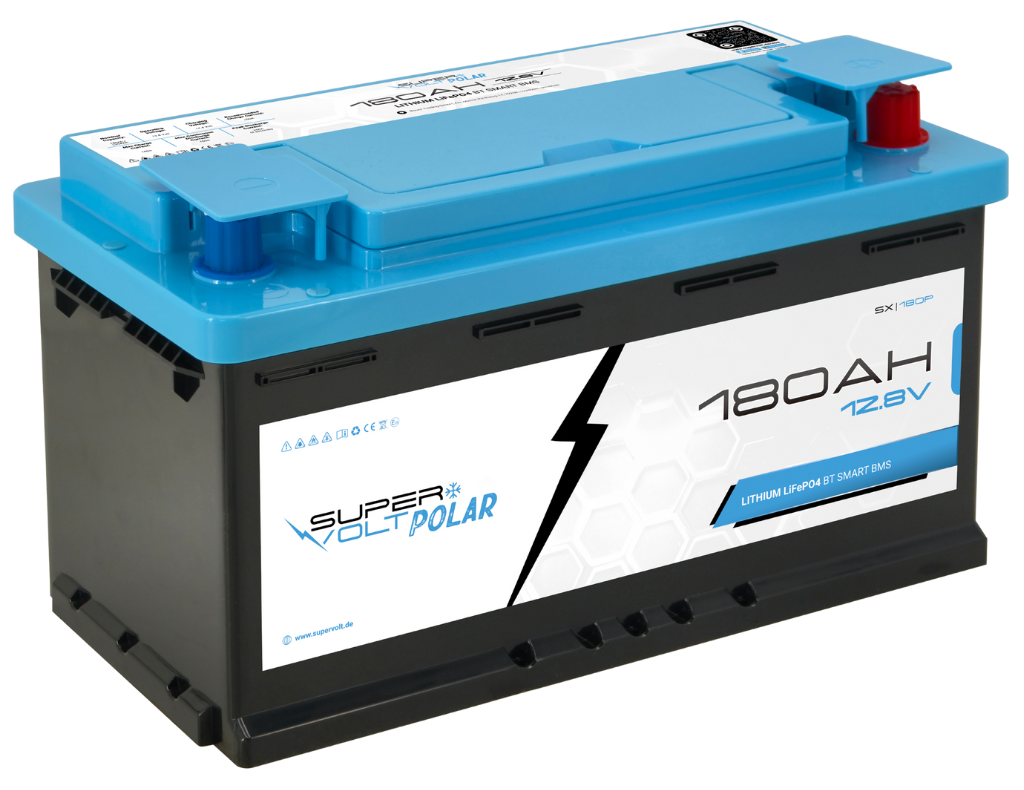
A customer shares his personal experience with the installation of our 180Ah POLAR Supervolt LiFePO4 batteries – including helpful installation tips and crucial information for the conversion.
Table of contents
Lithium batteries in the Hymer Yosemite: Our initial situation
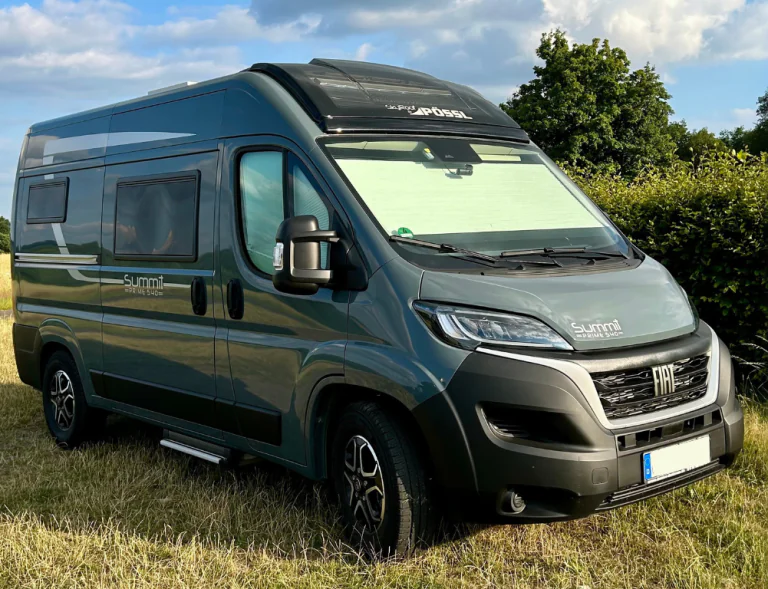
We got the vehicle in September 2021 and had it fitted with two 95 Ah AGM batteries and a photovoltaic panel. The first trip was to Scotland, up to the Shetlands. There we had to be self-sufficient, cook and charge our devices. The batteries worked well – but that was also due to the fact that we drove a bit practically every day, which meant they were constantly being recharged.
Over time, the batteries got worse, and we also spent New Year’s Eve at a campsite that we initially booked without electricity. The constant gray clouds during the day forced us to use shore power after three days.
Why we are converting to LiFePO4: Experience with AGM batteries
As we want to see the Northern Lights this year, we are planning a trip to the North Cape from the end of September into October.
With our previous experience and the weakening AGM batteries, the conversion was due before the trip. We had three manufacturers to choose from – Supervolt was the choice.
We were won over by the integrated battery heating and the friendly contact with the service employee, who didn’t want to sell us the whole portfolio but gave us good advice. Another reason was the five-year warranty, which is granted even if no specialist company does the wiring.
Planning and preparation: installation of LiFePO4 batteries in the Hymer Yosemite
The on-board electronics were tested using the Supervolt instructions (photo 02): A Schaudt EBL 30 works with LiFePO4, the charging booster (photo 01) can be switched to LiFePO4, and the Victron solar chargers already installed can also be switched. Great – then everything works and we don’t need anything new.
So we ordered the duo set with a total of 360 Ah. It arrived three days later. The first thing we had to do was fully charge it. A charger from a work colleague worked for two days to get the “new” batteries fully charged.
Note:
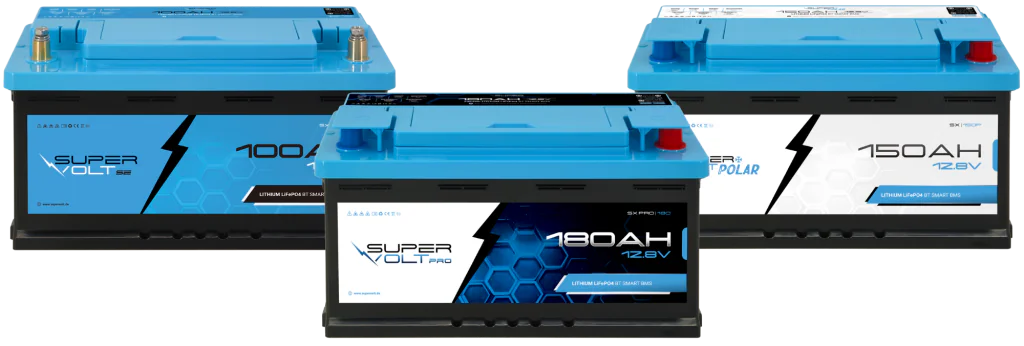
With the introduction of our new battery series at the beginning of October 2025, the POLAR series models no longer have RJ45 interfaces to external devices (e.g. Victron, Truma iNet, etc.), as these are not required by all users.
Due to the elimination of these interfaces, we can no longer offer the POLAR series can now be offered at a lower price.
The PRO series however, still has the corresponding interfaces.
>> Discover our LiFePO4 POLAR batteries directly in the online store <<
LiFePO4 installation step by step: how the conversion went
In the meantime, the seat was removed and the “old” batteries were uncovered. The chaos on the batteries arose because the cables were all pulled to determine the necessary connections. All cables were then labeled (plus and minus) and disconnected. The EBL 30 was switched off.
The “old” batteries were removed and the new ones were allowed to “test fit”. These had to be turned around again, as the negative cables were too short and could only be connected on the left-hand side in the direction of travel.
We looked for suitable busbars for a long time. I wanted it to be neat and tidy and had already made friends with the purchase of four collectors (two for the 400 A current, i.e. M8, and two for the lower current requirement, M6). Then a search revealed suitable busbars from the boat sector. As can be seen in the picture, only two busbars are required.
Installing the lithium batteries: Tips on cabling and space utilization
All connection cables to the vehicle have been connected and the necessary connection cables from the batteries to the busbars have been ordered: 20 cm 50 mm² each and 40 cm 50 mm² each with M8 connection lugs. We are not currently planning to draw 400 A from the batteries – but who knows what we will come up with later. Then we won’t have to rebuild. The batteries were connected crosswise as described on the Supervolt website. The base plate for the busbar was a Dibond plate that we still had lying around.
Because everything worked so well and I wanted to practise again, the batteries came out again. I had forgotten the switch-off cables – they cannot be fitted when the batteries are installed. So remember to connect them beforehand!
Commissioning the LiFePO4 batteries in the Hymer Yosemite
Everything is now fully connected. The solar controllers and the booster were switched to lithium, the EBL 30 was set to liquid lead and switched on. The Supervolt app then displayed 360 Ah and “fully charged”. The control panels were switched on and everything was tested briefly – everything worked without any problems. The seat and cover were refitted and the charging booster was checked during a short test drive. It also did its job. So the conversion was really problem-free and the journey to the North Cape could begin.
With the heating, fridge and lights switched on, the app indicated that it would take over 300 hours to fully discharge. But we didn’t want to leave it that long.
Thanks again for the great advice, the descriptions on the homepage and the smooth handling!
👉 You can access our LiFePO4 POLAR batteries in the online store here
Side tip: Voltage stabilization in the van
The conversion increases the voltage in the system. Various devices from manufacturers such as Maxxfan are not designed for this voltage. This also applies to the closing aid that we have fitted. So: remember to install voltage stabilizers (e.g. from Bauer) to provide these devices with a continuous voltage of 12 V.
Just to clarify: the appliances continue to work, but the controls fail at higher temperatures in the van because they become significantly warmer when operating at the higher voltage. I have not yet found any evidence that the Dometic refrigerator we have installed cannot cope with the higher voltage.
Disclaimer
This article is based on an experience report provided to us by a customer to the best of his knowledge and belief. The installation methods, experiences and tips described reflect his personal implementation and assessment.
Important note: We assume no liability for the accuracy, completeness or safety of the information contained herein.
Please always observe the applicable regulations and the manufacturer’s specifications for your vehicle and the components used when carrying out your own conversions.
Acknowledgments
We would like to take this opportunity to thank our customer for the detailed and clear installation report! By publishing these instructions, we hope to help anyone who is considering replacing an AGM battery with one of our lithium batteries in the Hymer Yosemite Camper camper.
With the new battery, nothing stands in the way of the next adventure – we wish you a safe journey at all times and many unforgettable trips!
Supervolt LiFePO4 batteries and accessories
In our store you will find the complete selection of LiFePO4 batteries – ideal for motorhomes, boats or solar systems. Thanks to their versatility, our batteries can be used reliably in a wide variety of applications.
Suitable installation accessories such as solar controller, charging booster or inverters are of course also available directly from us – for a perfectly coordinated system from a single source.